Two finishes arrive at the same drawing callout and behave nothing alike. An anodized layer is part of the metal. A powder coat is a skin laid over it. That single difference decides how much the finish moves your dimensions, how it fails, and what it costs to apply.
Most arguments about anodizing vs powder coating stay on color and price. Those are the two least important variables at the design stage, because both can be changed late. The thickness and the failure mode cannot.
This article compares the two by what a buyer actually has to decide: thickness, dimensional effect, corrosion and wear, color consistency, and cost at different volumes. It ends with the four items a drawing has to state.
What Each Finish Actually Is
One converts the surface. The other coats it.
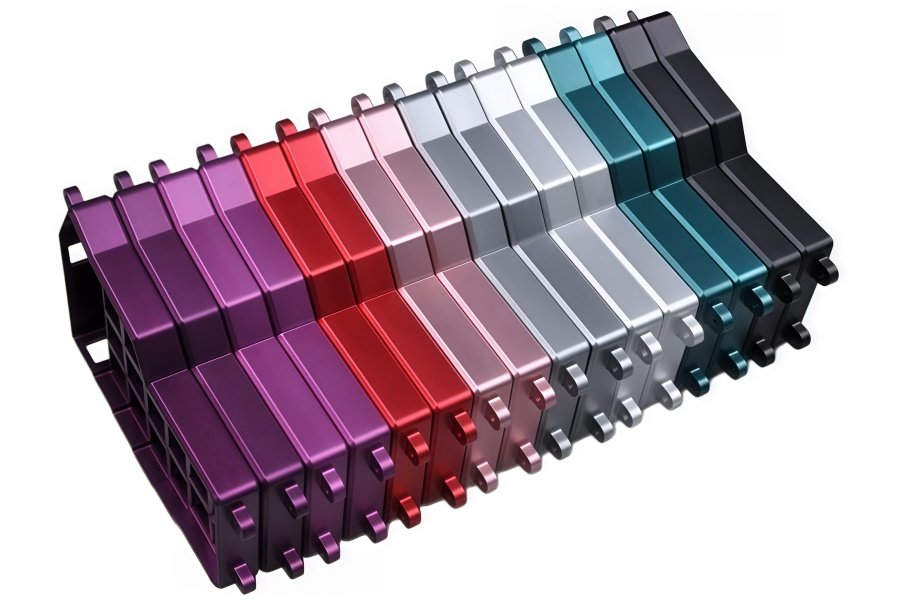
Anodizing is an electrochemical conversion of the aluminum itself. The part goes into an acid bath and current is applied, and the surface oxidizes into a porous aluminum oxide layer. Because the layer grows out of the substrate rather than sitting on it, it cannot chip off in the way a coating can. Our Metal Surface Finishing work covers the wider family of processes this belongs to.
Anodizing Grows Into the Metal
Techmetals, an Ohio finishing house, describes the growth rule as 50 percent penetration and 50 percent growth. Half the layer sits below the original surface and half stands above it.
That split matters more than any other number in this comparison. It means the dimensional change on a finished face is roughly half the coating thickness, not the full thickness. It also explains why anodizing holds up under abrasion: there is no interface to delaminate.
Type II anodizing is the sulfuric acid process most commercial parts get. It produces a thin, dyeable layer and a good corrosion barrier, and it is the default when the drawing just says “anodize.”
Powder Coating Sits on the Surface
Powder coating is a dry polymer applied electrostatically and then cured in an oven, where it melts into a continuous film. Nothing converts. The film bonds to a pretreated surface and stays there.
That film is thick, and it is entirely above the original surface. DeFelsko, which makes coating thickness gauges, uses a manufacturer specification of 2.0 to 5.0 mils as its worked example, and notes that 1.0 mil equals 25.4 microns. So the cured film typically lands somewhere between 50 and 127 microns.
A powder coating also shrinks during cure, by as much as half its applied height, which is why the film is specified after curing rather than before.
Thickness and What It Does to Your Dimensions
Put the two thickness ranges next to each other and the practical answer appears immediately.
Techmetals lists MIL-A-8625 Type II anodizing at 0.0001 to 0.001 in, which is 2.5 to 25 microns. Type III, the hard coat, runs 0.0016 to 0.0024 in, or about 41 to 61 microns. A powder film at 50 to 127 microns is therefore five to ten times thicker than a standard anodize.
Set against an H7 bore, that difference is not academic.
Masking Bores, Threads and Mating Faces
A 10 mm bore with an H7 tolerance has 15 microns of total allowance. A Type II anodize at 10 microns takes about 10 microns off the diameter, because half the layer grows into the hole from each side. The bore survives, tight but usable, and a reamer pass afterward restores it.
The same bore under a 60 micron powder film loses roughly 120 microns of diameter. No reaming recovers that, because the film is soft and the cut would simply tear it back. The bore has to be masked before coating, and masking is a manual operation with a labor cost attached to every part.
Threads are worse. A coated thread will not accept its mating fastener, and cleaning the coating out of a thread after cure is slow work that often damages the pitch.
The rule that follows is simple. Anodize the whole part when the drawing allows it, and reserve masking for features that genuinely cannot take the growth. Mask powder coating by default on every bore, thread and mating face.
When the Coating Eats the Tolerance
There is a second-order effect that catches designers who do remember to allow for thickness. Coating thickness is not uniform.
Film builds up on edges, corners and high points, and thins inside recesses and shaded areas, because the powder spray reaches those surfaces at a lower rate. That variation is part of why over-thick films cause problems: DeFelsko notes that high film builds often produce poor adhesion, and a film that fails adhesion will chip at exactly the edge where it was thickest.
Corrosion and Wear: Where Each One Holds Up
This is the section where the two finishes stop being interchangeable. Comparing anodized aluminum vs powder coated aluminum on a single durability score misses the point, because they fail in opposite directions.
Type II vs Hard Anodizing
Standard Type II anodizing gives corrosion protection with moderate abrasion resistance. Hard anodizing, MIL-A-8625 Type III, builds a much denser and thicker layer and is specified where the surface has to resist sliding wear: cylinder bores, guide rails, rotating interfaces.
Techmetals puts both processes at greater than 336 hours of salt spray per ASTM B-117, and notes that Type III can be ground or lapped after coating, which Type II cannot.
The trade-off is real. Hard anodizing adds process time and cost, darkens the color toward bronze or gray, and reduces fatigue strength at sharp corners because the ceramic layer is brittle. On a part with thin walls and tight fillets, that brittleness is a failure mode rather than a benefit.
Salt Spray, UV and Abrasion
For powder coating vs anodizing durability, the honest answer depends on the environment rather than on a winner.
Powder holds up better outdoors. Architectural powder systems are graded by AAMA 2603, 2604 and 2605, and the highest tier, AAMA 2605, is tested to 4,000 hours of salt spray under ASTM B-117 with a limit on scribe creep. That is an order of magnitude beyond the anodize figure, and it is why exterior architectural aluminum is usually powder coated or PVDF coated rather than anodized.
Anodize holds up better against abrasion and against solvents. It is also the more forgiving choice where the part will be handled constantly and scratched occasionally, because a scratch on anodize exposes more anodize, while a scratch through a powder film exposes bare metal and corrosion starts in the breach.
Film integrity matters as much as film performance.
Appearance, Color and the Cosmetic Verdict
Color is where anodizing vs powder coating aluminum gets decided in practice, usually by a product manager rather than an engineer.
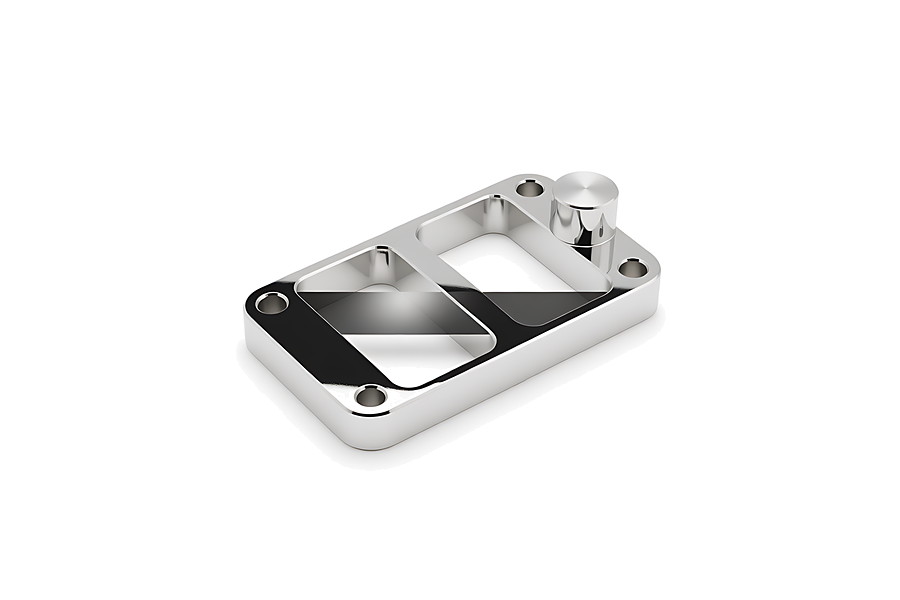
Powder coating wins on range without argument. Any RAL color is available, gloss level is controllable from matte to high gloss, and textured and metallic effects are standard options. It also hides surface defects, because a 60 micron film fills minor scratches and tool marks.
Anodizing wins on depth. The dye sits inside the porous layer and is sealed beneath it, so the color is part of the metal and cannot be chipped off. It reads as metallic rather than painted, which is the reason consumer hardware and instrument panels still specify it.
Color Matching and Batch Variation
Neither process holds color perfectly across batches, and they fail differently.
Anodized color depends on the alloy, the temper and the bath chemistry, so the same dye on 6061 and on 7075 will not produce the same result. A second production run months later may need a color chip approved against the first run.
Powder color is more repeatable within a single powder lot, because the pigment is in the can. The risk sits at the lot boundary instead: change powder lots and the match can shift, and mixing two lots on one order produces a visible two-tone on adjacent panels.
For both, the practical control is the same. Approve a physical sample from the production process, keep it as the reference, and write the reference number on the drawing rather than a color name.
Cost, Lead Time and Volume
Both finishes are priced by area, and both carry setup. What differs is how the setup amortizes.
Anodizing is a tank process. Parts go on a rack, the rack goes in the bath, and the cost scales with surface area and rack density. Small lots are practical because the tank runs continuously and a rack can be filled with parts from several orders.
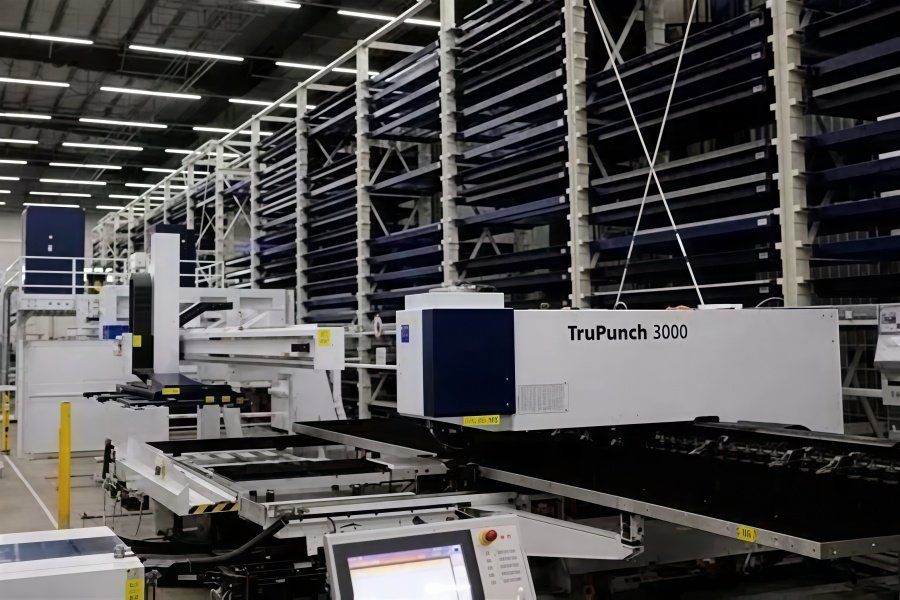
Powder coating needs a pretreatment line, a spray booth and a cure oven, and the oven is the constraint. A cure cycle cannot be shortened by adding parts, so a small order still occupies a full oven cycle. That pushes powder toward minimum lot sizes.
Setup, Racking and Minimum Lot
Racking is where the hidden labor sits in both processes.
Every part needs a contact point for the electrical circuit. On anodize that contact leaves a small uncoated witness mark, which has to be placed on a non-cosmetic face. On powder the hook leaves a bare patch that is usually touched up by hand after cure.
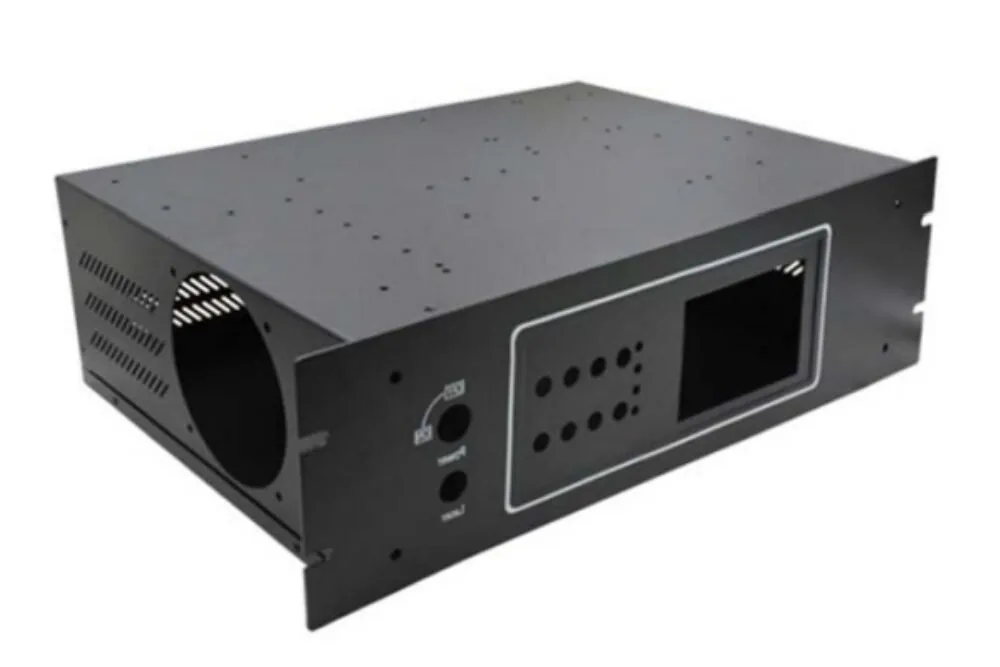
On sheet metal parts, which are large and flat, this arithmetic changes. A sheet metal enclosure has a high surface area relative to its value, so finish cost becomes a larger share of the part price than it does on a machined component, and rack density decides the quote.
Die cast housings add a step. Flash and parting line mismatch come off the die before any finish goes on, and the finish then has to cover faces that were never machined, which is a different cost structure from a part where every visible face was already cut.
How to Specify the Finish on a Drawing
A callout that reads only “anodize” or “powder coat” transfers every open decision to the shop.
Four items belong on the drawing, and they belong in this order.
Process and specification. Name the standard, not just the process name. “Anodize per MIL-A-8625 Type II, Class 2” is quotable. “Anodize” is not, because Type I, Type II and Type III differ by a factor of twenty in thickness.
Thickness range. State the anodizing thickness or powder coating thickness as a range with a measurement method. For powder, state whether the figure is pre-cure or cured, since the film can shrink by half during the oven cycle.
Masking locations. Mark each feature that must stay bare, and say so explicitly rather than assuming the shop will infer it from the tolerance. An unmasked bore is a scrapped part that nobody catches until assembly.
Color reference. A standard number plus an approved physical sample. A color name alone survives no inspection.
When those four are present, the surface finish callout stops being a negotiation and becomes a line item. When they are missing, the shop adds margin, and the buyer pays for a decision they could have made in a minute.
Conclusion
The choice between anodizing and powder coating comes down to three questions, and none of them is about color.
Does the part have bores, threads or mating faces that cannot absorb a 60 micron film? If so, anodize or accept the masking cost. Will the part live outdoors under UV and salt? Then powder, at the AAMA-graded end of the range. Will it be handled, slid or wiped with solvent? Then anodize, and consider hard anodizing if the wear is real.
Everything else, including the color, can be settled after those three are answered.
If you have a part where the finish callout is still open, send the drawing and the model through the CNC Machining Quote Form and note which faces must stay bare. We will price the finish against the tolerance rather than around it. The About Us page covers how the shop handles secondary operations, and other process and cost breakdowns are collected on the Blog Homepage.