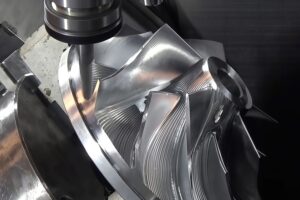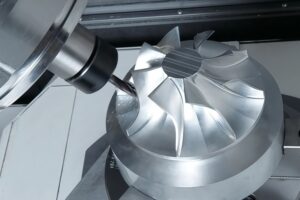
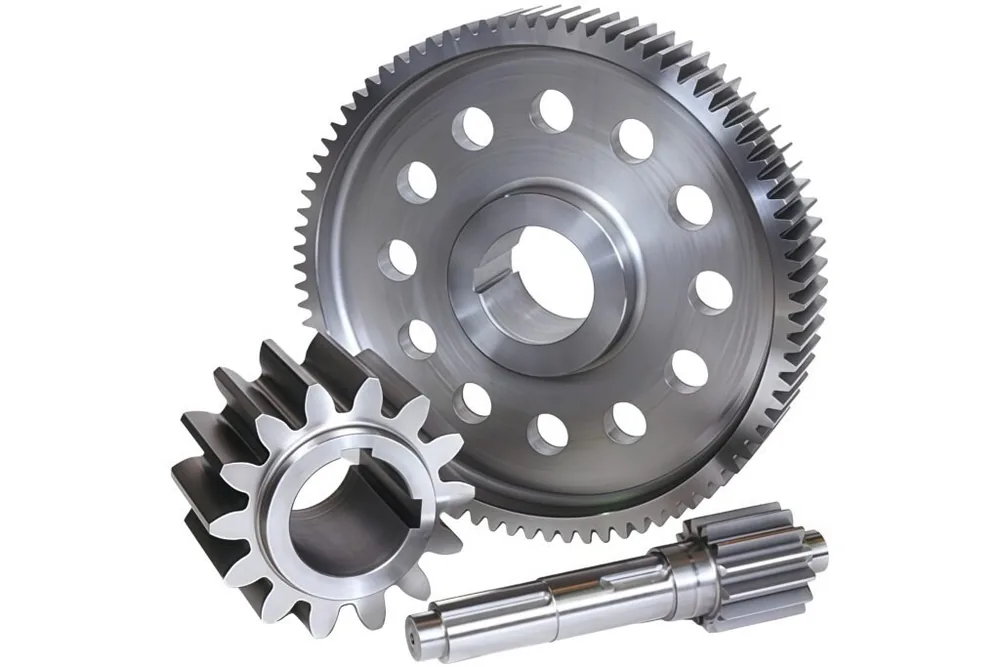
Every buyer who has taken a part through a pilot build knows the pattern. The first five pieces cost an uncomfortable amount each. The next fifty cost less. Then, somewhere around the point where volume justifies a change of process, the number stops falling and sometimes turns upward, and nobody in the room can say exactly why.
Prototype manufacturing is not a discount curve. It is a sequence of process changes, and each change has its own cost logic. Some of those changes remove cost. Others add it back. A buyer who knows which stage the part is in, and which cost term dominates that stage, can predict where the price will fall and where it will not, and can stop arguing about a number that is already close to its floor.
This article walks the whole path: from the first machined prototype, through low-volume runs, into the point where tooling becomes the question. Along the way it explains what each stage actually tests, what it cannot test, and which decisions at each stage lock in cost that you cannot recover later.
One thing up front. Nothing here is a rate card. Shop rates vary by region and by machine, and quoting behavior varies with how full an order book is. What holds across all of that is the structure, which is what a buyer can act on.
What cnc prototyping actually tests, and what it cannot
CNC prototyping is the stage where a design meets the physical world for the first time. It answers a specific set of questions and refuses to answer others, and confusing the two causes later problems.
What cnc prototyping tests well: whether the geometry can be made at all, whether the assembly interfaces fit together, whether the material behaves as the model predicted, and whether the part functions under load or heat or fluid. It also tests the drawing itself, meaning whether the callouts are buildable and measurable.
What cnc prototyping tests poorly: whether the part can be made economically at volume. A machined prototype is made by a process that removes material from a solid block. A production part may be cast, forged, stamped, or molded, and each of those processes imposes constraints that machining does not. Draft angles matter for casting and not for machining. Minimum wall thickness matters differently. Corner radii that a cutter can reach are not the same radii that a die can fill.
That gap has a practical consequence. A prototype that passes every functional test can still be a part that cannot be manufactured at volume without redesign. When prototype machining services are quoted, the shop is pricing a part that will function. It is not certifying that the same geometry will survive a process change.
The useful habit here is to ask, at prototype stage, which manufacturing process the part is intended for at volume, and to design the prototype geometry so it is compatible with that process from the beginning. A machined prototype that already carries the draft angles a casting will need looks slightly odd on the bench, and it saves an entire redesign cycle later.
There is a second habit worth forming. Ask the shop, at the end of the prototype run, which features it had to fight. The answer is a list of design issues that will return at volume, and it is usually free to obtain because the shop already knows.
Where what is rapid prototyping stops being useful
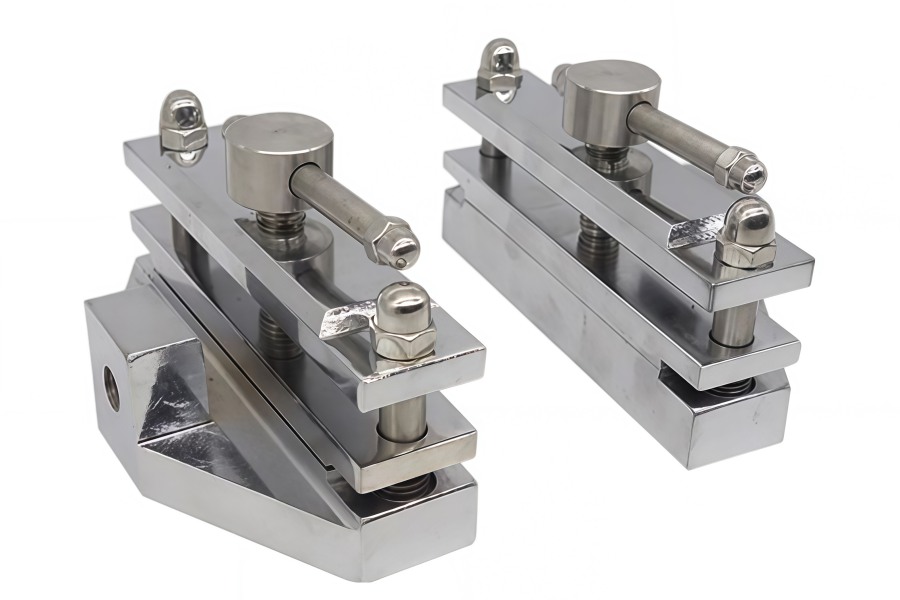
What is rapid prototyping, in a serious procurement sense? It is a set of methods for producing a physical part quickly enough to inform a design decision. Machining is one of them. Additive manufacturing is another. Casting in a soft tool is a third.
The method matters less than the decision it supports. A prototype exists to answer a question, and the right method is the one that answers that question at the lowest cost in time and money. Choosing a method because it is fast, without naming the question, produces prototypes that arrive quickly and prove nothing.
Three common questions and the methods that fit them.
Does the geometry assemble? Machining or additive both work. Machining gives better surface finish and tighter tolerance, which matters if the assembly interfaces are dimensionally critical.
Does it survive the load? Machining from the intended production alloy is usually the right call, because additive materials rarely match wrought properties. Testing a printed part in place of a machined one tells you about the printed part.
Can it be produced at volume? This question cannot be answered by a prototype at all. It is answered by a process review, a tooling quote, and often by a second prototype made in the target process.
The point where rapid prototyping stops being useful is the point where the question changes from “does this work” to “can this be made”. Those are different questions requiring different evidence, and a fast prototype is evidence for the first and none for the second.
Cost behaves accordingly. A rapid prototype is expensive per unit because setup dominates and quantity is tiny. That expense is buying information, not parts. Judging a prototype quote by unit price misses the point, and it pushes buyers toward the least expensive prototype method when a slightly slower and slightly more expensive method would have answered the real question.
Moving from machined prototype to sheet metal prototype
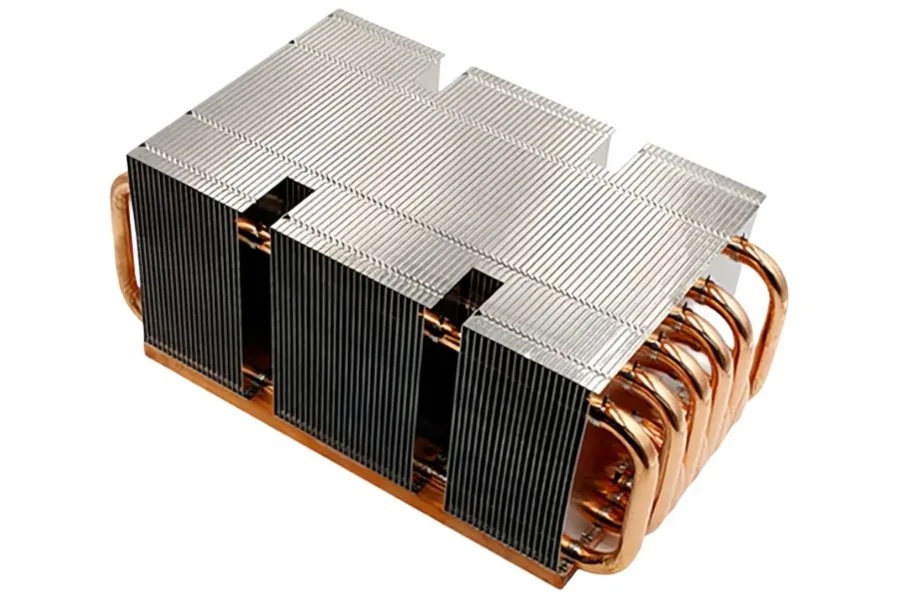
sheet metal prototyping
Not every part starts as a machined block. Enclosures, brackets, panels, and chassis parts often begin life as sheet metal, and the prototype logic is different enough to treat separately.
Machined prototyping and sheet metal prototyping share the same goal, which is a physical part that answers a design question. They diverge on where the money goes.
In sheet metal, the flat pattern is the design. A sheet metal part is designed as a flat layout that gets bent. The bend allowances and the K-factor determine whether the finished part matches the model, and those values depend on material, thickness, and tooling. A prototype that looks right in CAD can come out wrong at the brake if the flat pattern was calculated with generic values.
Setup is different in kind. Laser cutting has almost no per-part setup beyond programming, which is why one-off sheet metal parts are relatively inexpensive. Bending carries a setup per bend sequence, and that setup is what makes a ten-piece run cost more per part than a hundred-piece run.
Tolerances behave differently. Sheet metal tolerances are driven by bend location and springback rather than by cutter position. A callout that is easy to hold on a milled part can be difficult on a bent part, and the reverse is also true.
For a part that will be an enclosure at volume, prototyping it as sheet metal rather than as a machined block tests the right things. Machining a box shape to prove it fits is a valid exercise, but it does not test the bend sequence, the flat pattern, or the hardware install, and those are where sheet metal problems live.
The transition point between the two is worth naming. A part that will be stamped or formed at volume should be prototyped in sheet metal if the forming behavior matters, and prototyped by machining only if the question is purely about fit. Choosing the wrong one costs a prototype cycle and, sometimes, a tooling revision.
The machining for manufacturing decisions that lock in cost
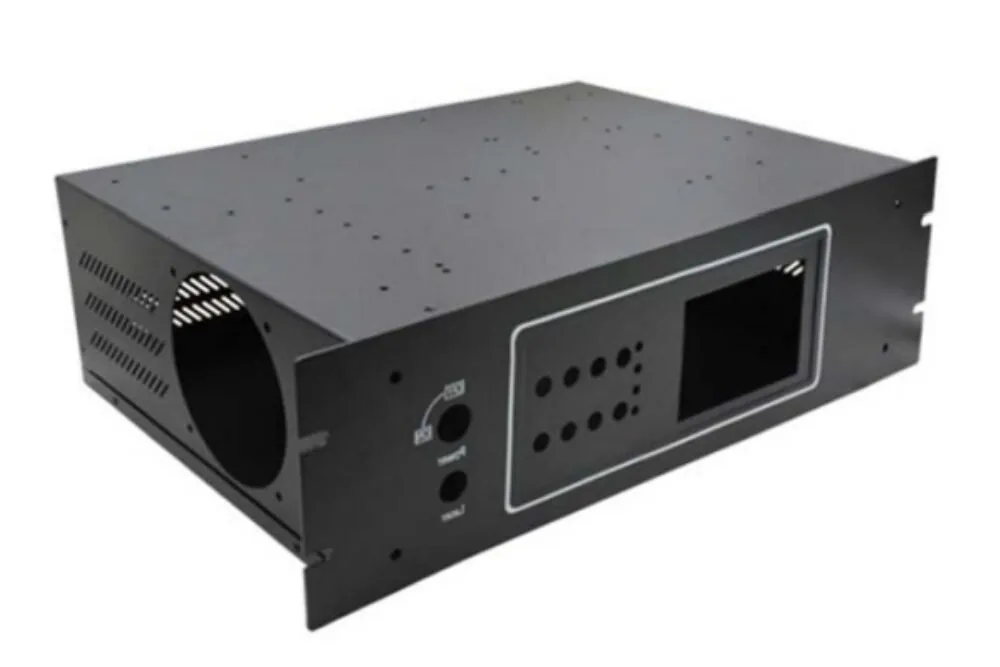
Machining for manufacturing is the discipline of designing so that a production process can make the part repeatedly and economically. Several of its decisions are cheap at prototype stage and extremely expensive later, which is why they belong in this article rather than in a design guide.
Datum choice. The datum you nominate determines how the part is held, and how it is held determines how many setups the part needs. A datum on a curved or interrupted surface forces the shop to build a way to establish it, and that cost repeats at every stage. A datum on a flat, accessible face costs nothing extra and saves a setup.
Tolerance allocation. A drawing with tight bands on every feature is not a better drawing. It is a more expensive one, because every tight band is an inspection obligation and often a process step. Tight where function requires it, general everywhere else, is the rule that survives from prototype to production unchanged.
Wall thickness consistency. Uniform walls machine faster, distort less during heat treatment, and behave predictably in a casting. A part with a thick boss next to a thin web looks unremarkable on the bench and causes problems in every process that follows.
Corner radii. A cutter can only reach what its radius allows. A pocket with a square internal corner requires either a smaller tool with a longer reach, which is slower and more fragile, or an EDM operation. Adding a radius that matches a standard cutter removes a problem that otherwise follows the part into production.
Feature accessibility. Every feature on a fourth or fifth face is another setup. Consolidating features onto faces reachable in fewer orientations is free at design stage and impossible to fix later without a redesign.
There is a pattern in all five. They are all decisions about the drawing, and all of them are free to change before the first cut. Once the part is in a production process, changing any of them means a new fixture, a new program, sometimes a new tool, and a fresh qualification cycle.
The practical recommendation is to hold a short machining for manufacturing review at the end of prototype stage, with the shop in the room, and to make the drawing changes then. It is the single lowest-cost intervention available in the whole lifecycle.
What changes when volume crosses into tooling
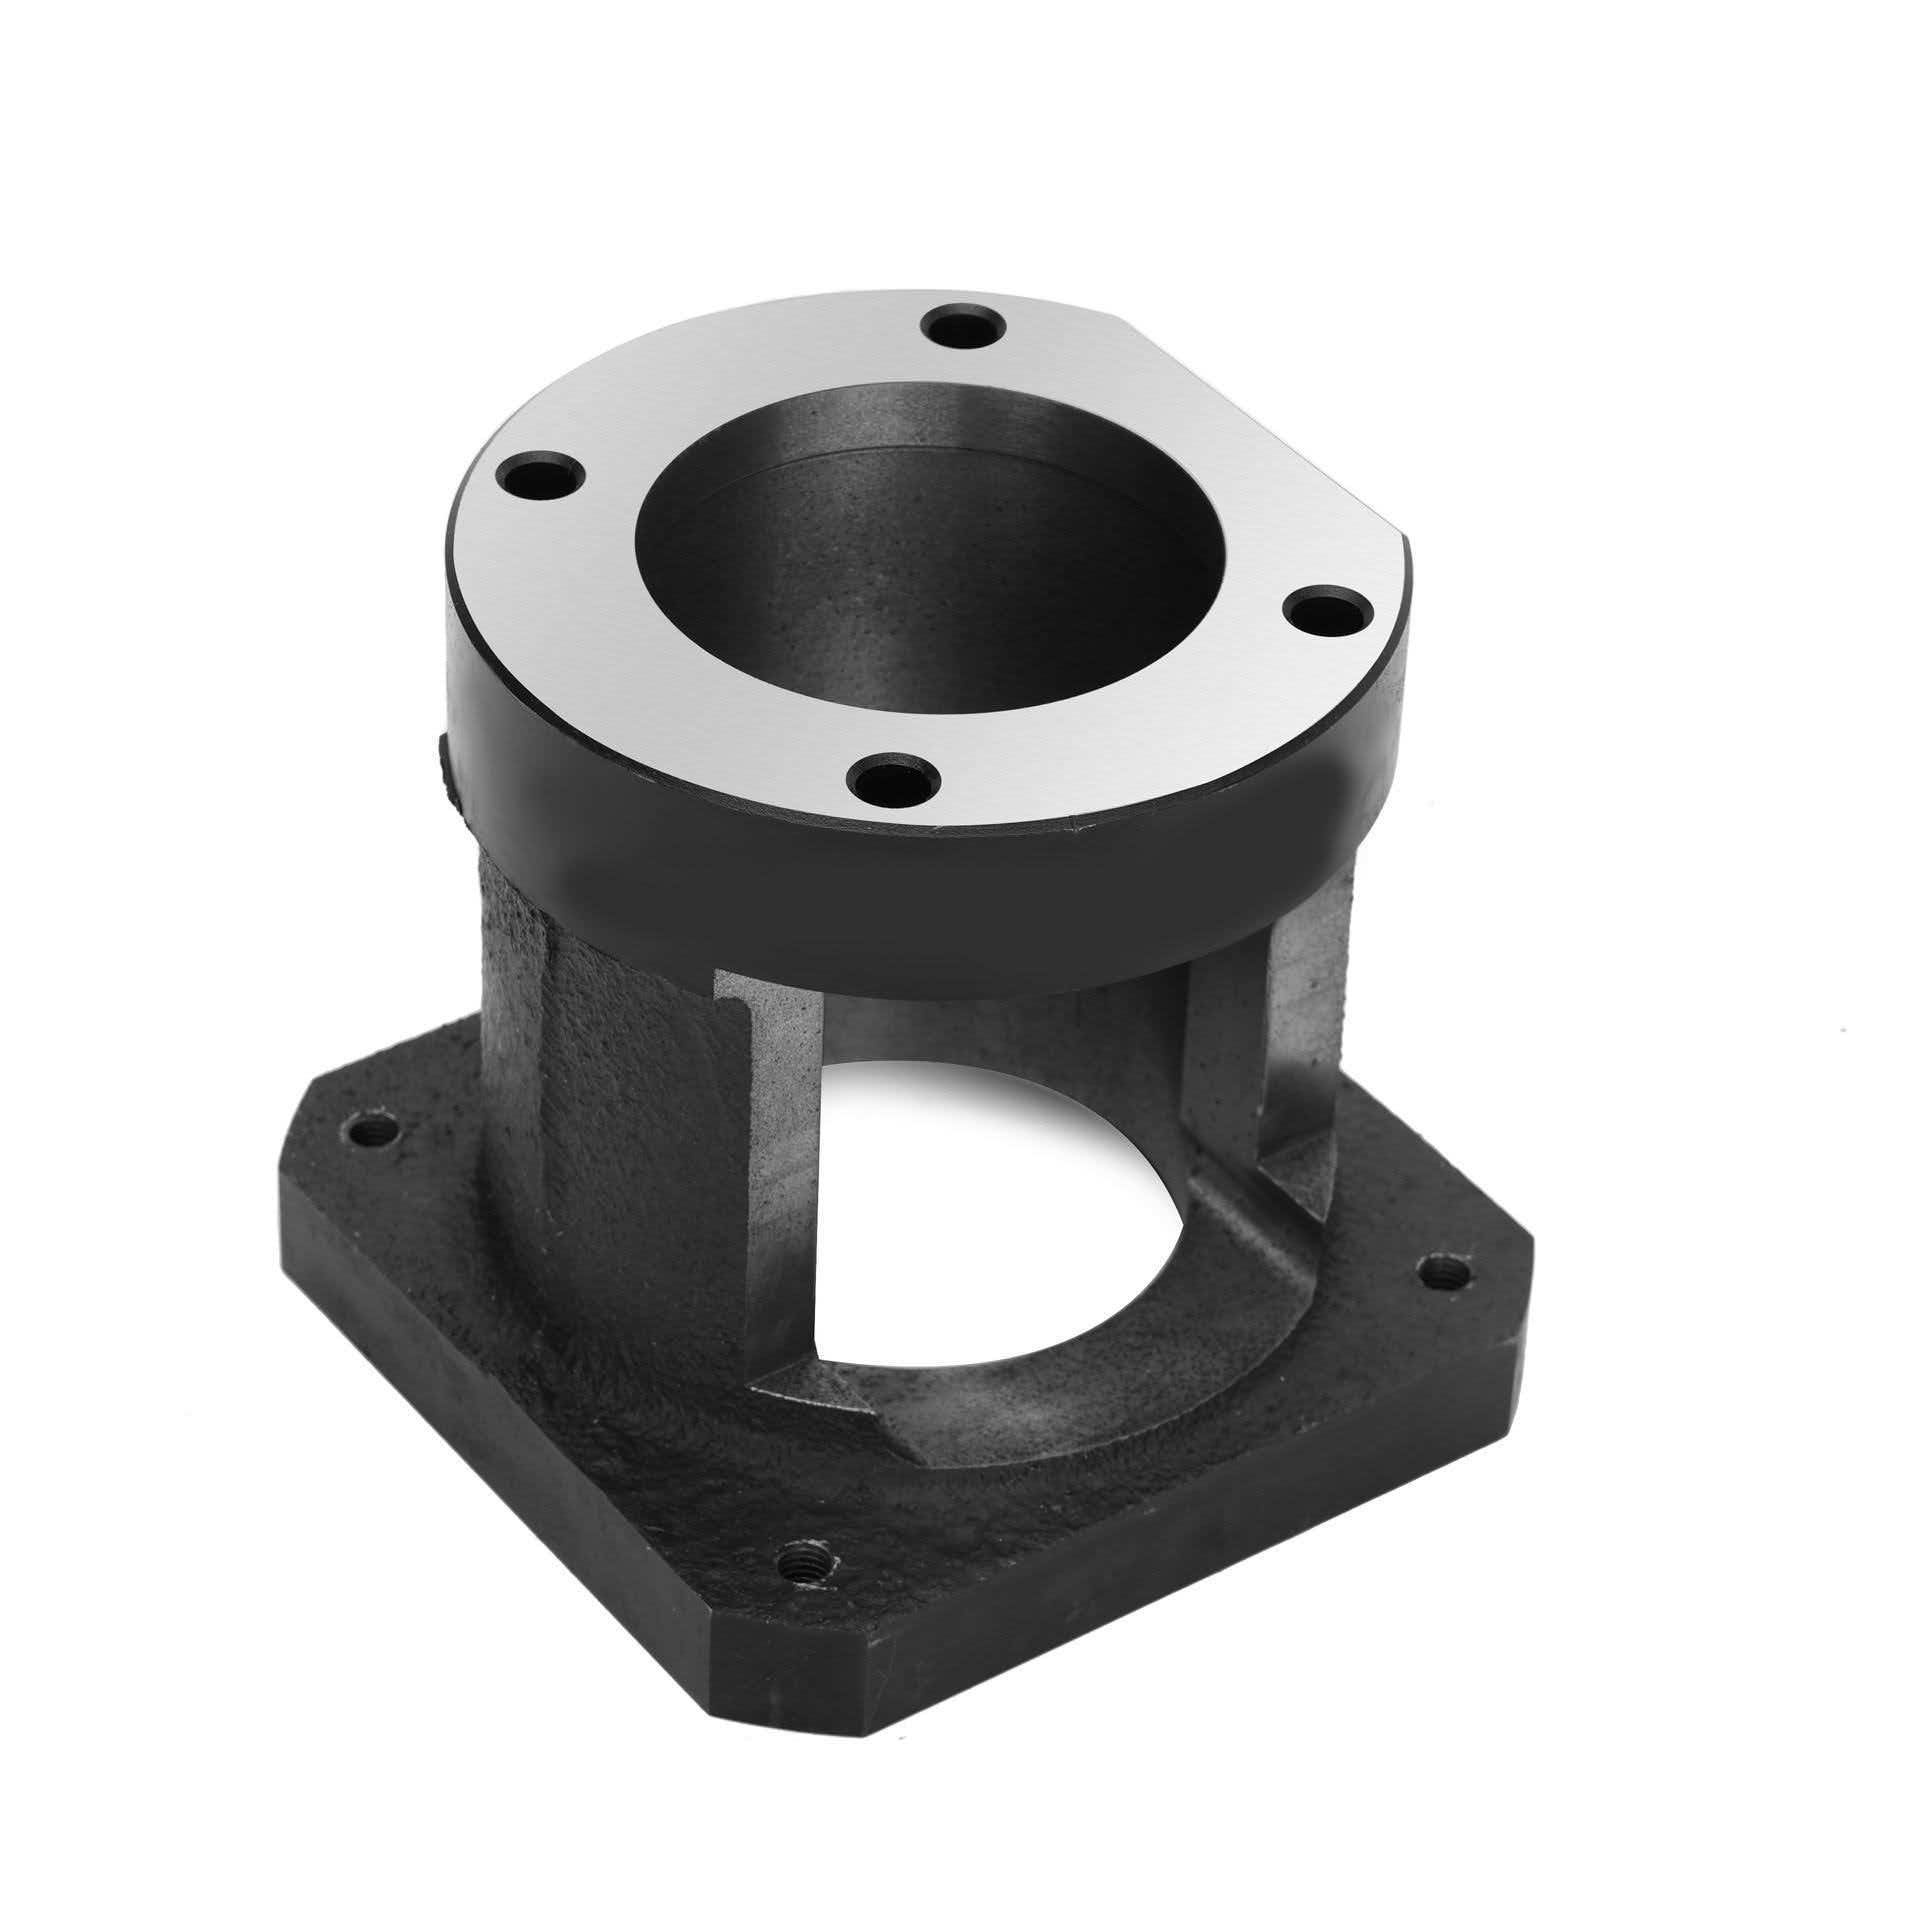
At some quantity, the question stops being “how do we machine this” and becomes “should we tool this”. That crossing is where the cost curve changes shape, and where buyers most often misjudge the economics.
The trade is straightforward in structure. Tooling is a fixed cost paid once. Machining is a variable cost paid per part. Above some quantity, the fixed cost amortizes to less than the variable cost would have been, and the tooled part becomes cheaper. Below that quantity, the tooling is a bet that does not pay.
Four things a buyer should check before committing to the change.
The quantity is committed, not forecast. A tooling investment justified by a forecast that later halves leaves you with a fixed cost and no volume to amortize it. Machining, which carries no such commitment, is the safer route when the forecast is soft.
The design is frozen. Tooling locks geometry. A design change after tooling means a tool modification or a new tool, and both are expensive. If design changes are still arriving monthly, the part is not ready to be tooled.
The tolerance is achievable in the new process. A tolerance that a mill holds comfortably may be difficult or impossible in a casting without a secondary machining operation. If secondary operations are needed anyway, part of the tooling saving disappears.
The surface finish is acceptable. Cast surfaces are not machined surfaces. If the part is visible and the finish matters, the tooled part may need post-processing that the machined part did not.
The failure mode here is well known and still common. A buyer compares a machined unit price to a tooled unit price, sees a gap, and commits to tooling without adding the tooling cost, the qualification time, the secondary operations, and the risk of a design change. The comparison that matters is total cost over the committed quantity, not unit price at steady state.
There is a middle path that is often overlooked. Cast the blank and machine the critical features. The casting buys the shape; the machining buys the tolerance. For parts with a few critical interfaces and a lot of non-critical geometry, this split often beats both pure options, and it keeps the tolerance risk inside a process you already control.
Reading the cnc machining parts spec at each stage
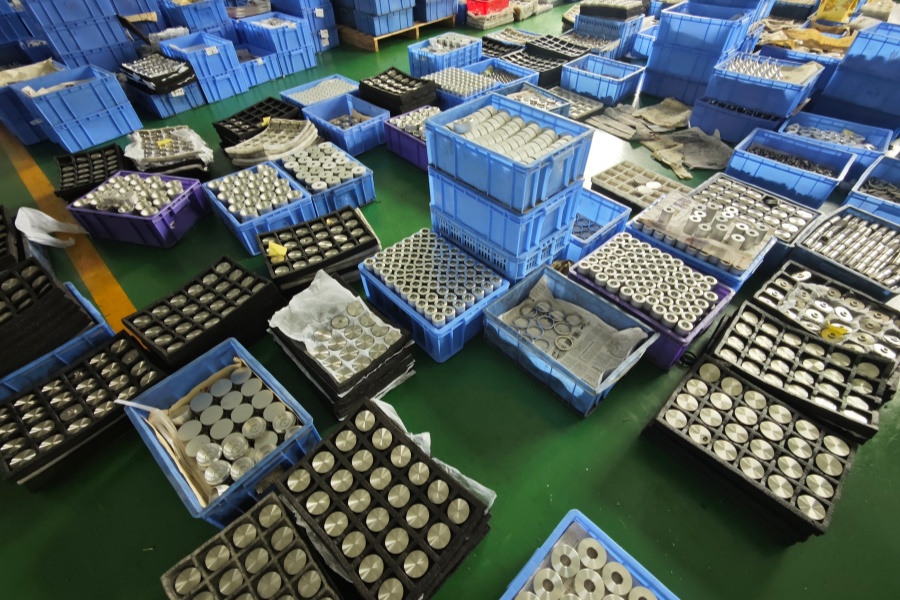
The cnc machining parts specification changes meaning at each stage, and a spec written for a prototype applied to production causes trouble in both directions.
At prototype stage, the spec should name the alloy, the blank size if it matters, the functional tolerances, and the surface treatment intent. Everything else can be general tolerance. Inspection is by hand, and the first article is a conversation rather than a document.
At pilot stage, the spec should add the inspection plan, the document set, and the traceability requirement. This is where precision machined parts begin to need a defined measuring approach rather than a caliper and a printout.
At production stage, the spec should include the process capability expectation, the sampling plan, and the change control process. A production spec that does not address change control will be tested the first time the shop wants to substitute a tool or a supplier.
Three specification errors that persist across stages and cause repeated trouble.
Naming a grade without a temper or condition. “6061” is not a complete material call. 6061-T6 and 6061-T651 have different properties, and a shop that picks for you may pick for its stock rather than for your function.
Omitting the inspection method. A tolerance without a stated measuring method is ambiguous. Two labs can measure the same feature differently, and a dispute over a part that is actually conforming costs more than the inspection would have.
Leaving surface treatment as a note. “Anodize” without a type or thickness is a note, not a specification. Type II and Type III behave differently, and the choice affects both function and cost.
A stage-by-stage handoff checklist
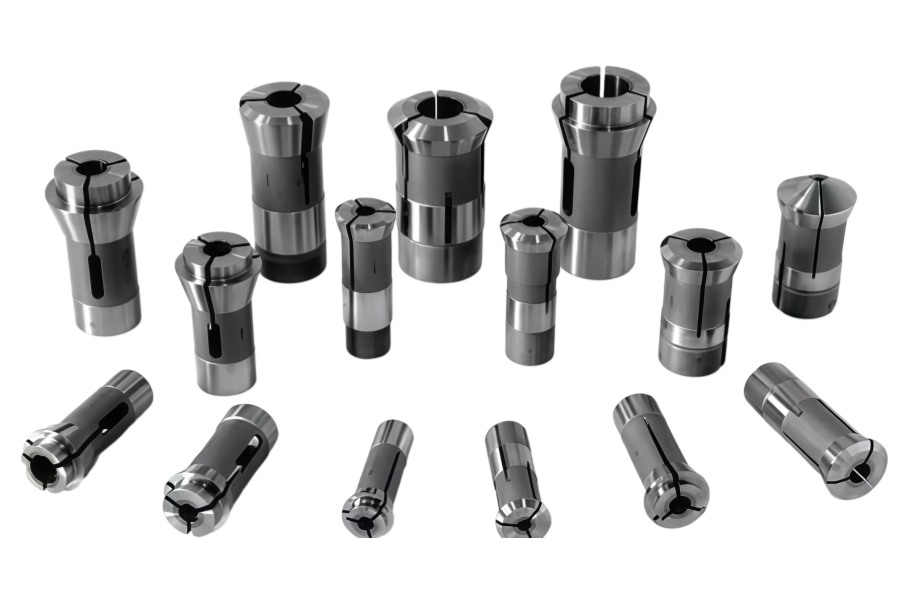
The practical instrument for all of the above is a short checklist that travels with the part. Each stage has an owner and a question.
Design freeze. Who owns the drawing, and is the geometry compatible with the intended production process. Confirm draft, wall thickness, and radii before the first prototype.
Prototype build. Which question is this prototype answering. Name it explicitly, and choose the method accordingly.
Prototype review. What did the shop have to fight. Collect the list and make the drawing changes while they are still free.
Pilot build. Is the fixture worth keeping, and is the inspection plan documented. A cnc machining company that archives setups prices the second order lower than one that rebuilds.
Process decision. Tool or continue machining. Compare total cost at committed quantity, including tooling, qualification, and secondary operations.
Production release. Is change control defined, and is the capability expectation written down. This is the stage where informal arrangements start to cost money.
One more item that belongs on the list and rarely appears. Supplier fit. A shop whose part family matches yours will quote lower and solve problems faster than one stretching into unfamiliar work. Buyers who restrict themselves to cnc machining near me sometimes rule out the shop that fits the part most closely, when for most machined components the freight difference is a minor term against the process fit.
The CNC machining services page lists the process scope a supplier needs to cover the whole path, and About Us describes how the shop is organized around it.
Conclusion
Prototype manufacturing is a sequence, not a discount curve. Cost falls when a stage removes a fixed block, and it rises when a stage adds tooling, secondary operations, or qualification work.
The three levers that stay available throughout are the same ones that appear in every article in this cluster. Reduce the number of setups. Keep tolerance tight only where function needs it. Decide the production process early enough that the prototype geometry is compatible with it.
None of those require a supplier relationship, and all of them are free before the first cut.
If you have a part moving from a prototype into a pilot build, send the drawing and both quantities through the quote form. We return the inputs itemized so you can see which term dominates at each stage. For the cost structure underneath, read CNC machining cost; for the comparison sheet you will need at the pilot stage, read the seven lines of a CNC machining quote; and the Blog Homepage carries the rest of this cluster.